Backplate Missing? Height of your Baseboard Cover shorter than 7 inches? No Problem!
Wall Brackets Offer an Alternative Easy Installation
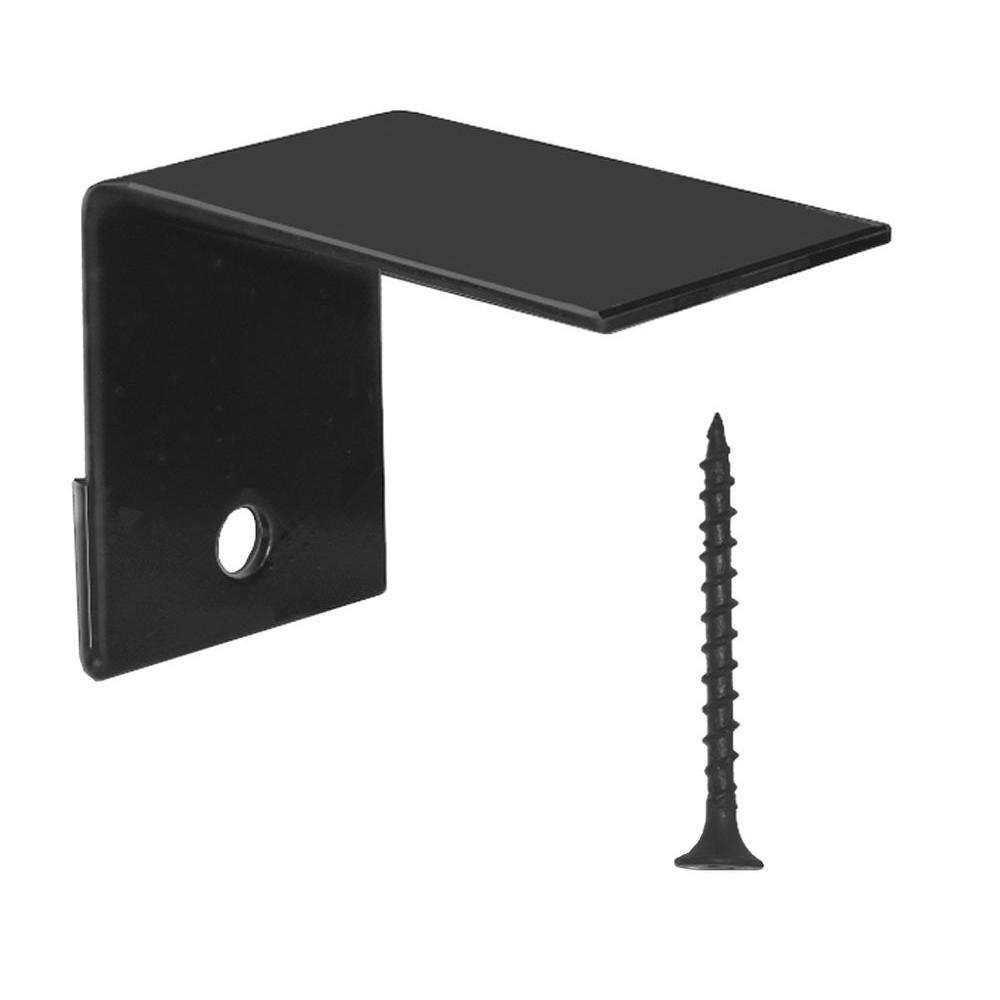
Not every situation presents an easy slip-on opportunity. With this in mind, an easy to install wall bracket that comes complete with the screw, is the perfect mounting solution. Whether it's new construction with new finned tube element being installed for the first time or a total demolition of crappy old heaters, the wall bracket will ensure a proper secure installation.
Wall brackets are NOT NEEDED unless you have one of the following situations:
- Installation over electric heaters.
- After checking the retrofitting guide for hot water baseboard heaters, your floor to top measurement (Step 2) is 7-1/4" or less.
- For whatever reason the back plate has already been removed leaving only the naked finned tube element exposed.
- You are a heating contractor and are installing baseboard heaters in a new construction environment.
Installation Instructions for Wall Brackets:

How to Install Wall Brackets:
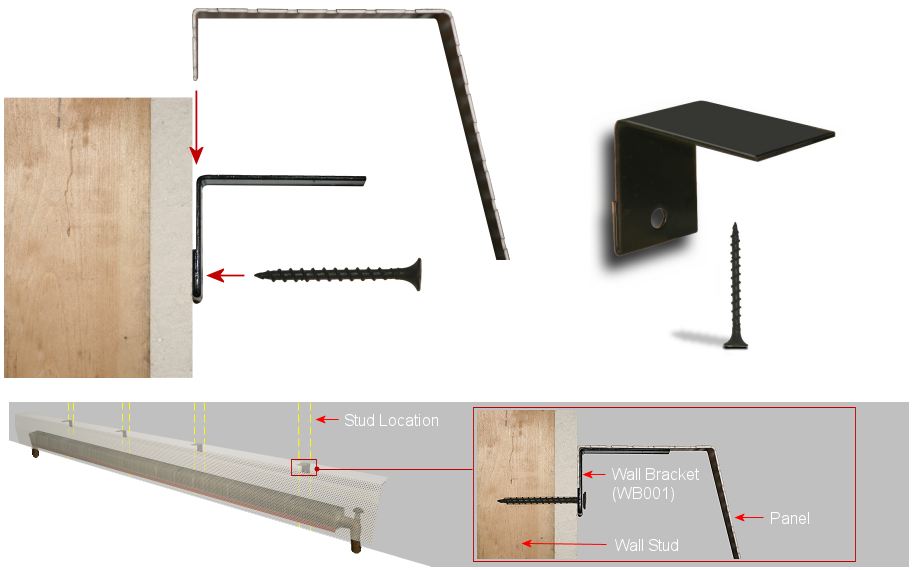
Locate a pilot hole to suit the No. 6 drywall screw (supplied) on each or every other wall stud. In an ideal situation the hole should be located at 7" above the floor. The vertical location of this hole will vary according to the circumstances of the project. For example brackets being mounted for use on a tall electric heater might be positioned at 9" off the floor. Once the pilot hole is drilled, screw in the bracket and ensure it is tight. A thin gap will be produced between the bracket and the surface of the wall as shown above.
- Ensure the wall behind the baseboard heater is patched and painted up to 8″ above the finished floor.
- Locate the nearest stud (or some solid material behind the sheetrock) at both ends of the heater.
- To make the job easy, locate and drill a pilot hole 7″ above the finished floor. This is only a recommended height. Ultimately you can decide how high to mount the panel. (Do not use Premium Tall/Atlas XL as the taller profile will never be applicable in this situation).
- Using the screws provided, secure one wall bracket at each end of the heater. Use a third in the middle for additional support and for 6′ and 7′ lengths.
- The wall bracket will produce a thin gap between itself and the wall. This gap will receive the lip on the back side of the baseboard heater cover panel as illustrated.
Note: The black wall brackets are not visible when the panel is dropped in place.
Do The Wall Brackets Fit All Profiles and Sizes?
Wall Brackets fit all of our size and profile panels, yes even Tall!
How Many Wall Brackets Do I Need?
Panels 4' or less will require 2 wall brackets. Anything over 4' panels will require 3 wall brackets.

