Need a custom cut length? We're here to help!
Baseboard covers conceal the fin tube pipe and other parts of the heater and provide a finished uniform surface at the front of the heater. Over time these covers can rust, become dented or both which can be quite the eyesore. Finding replacement parts for these older style baseboard heaters can be hard as many of them are out of production, but not to worry - now you can get a new modern cover and cut it to fit. We offer plenty of styles to choose from, and all of our metal covers can be cut to any length you need.
We offer custom cuts as a courtesy - you just need to find and order the next size up and let us know in the 'Need a custom cut length?' section of the product listing the exact length you require in inches*:
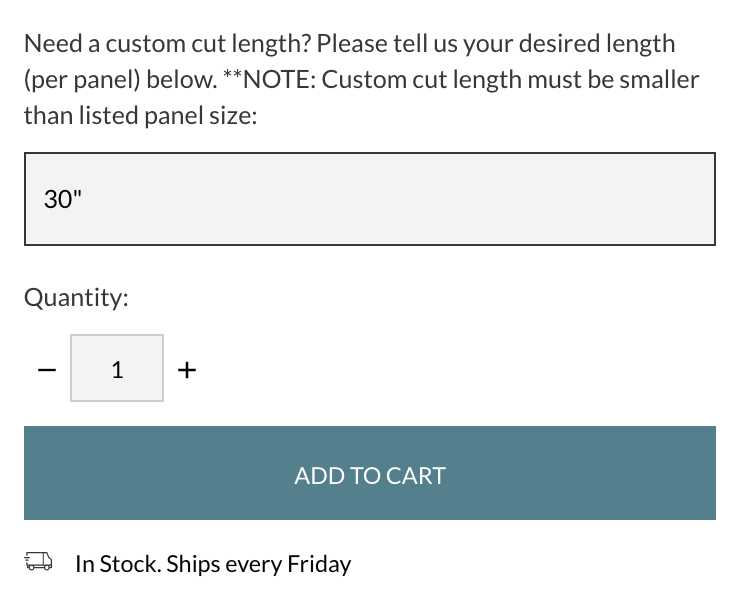
*Please note: custom cut panels are non-refundable, so if you are unsure if the covers will work for you or if you prefer to cut them on site to get the most precise measurements you can follow the steps below.
How to Cut Metal Baseboard Heater Covers
Things You Will Need:
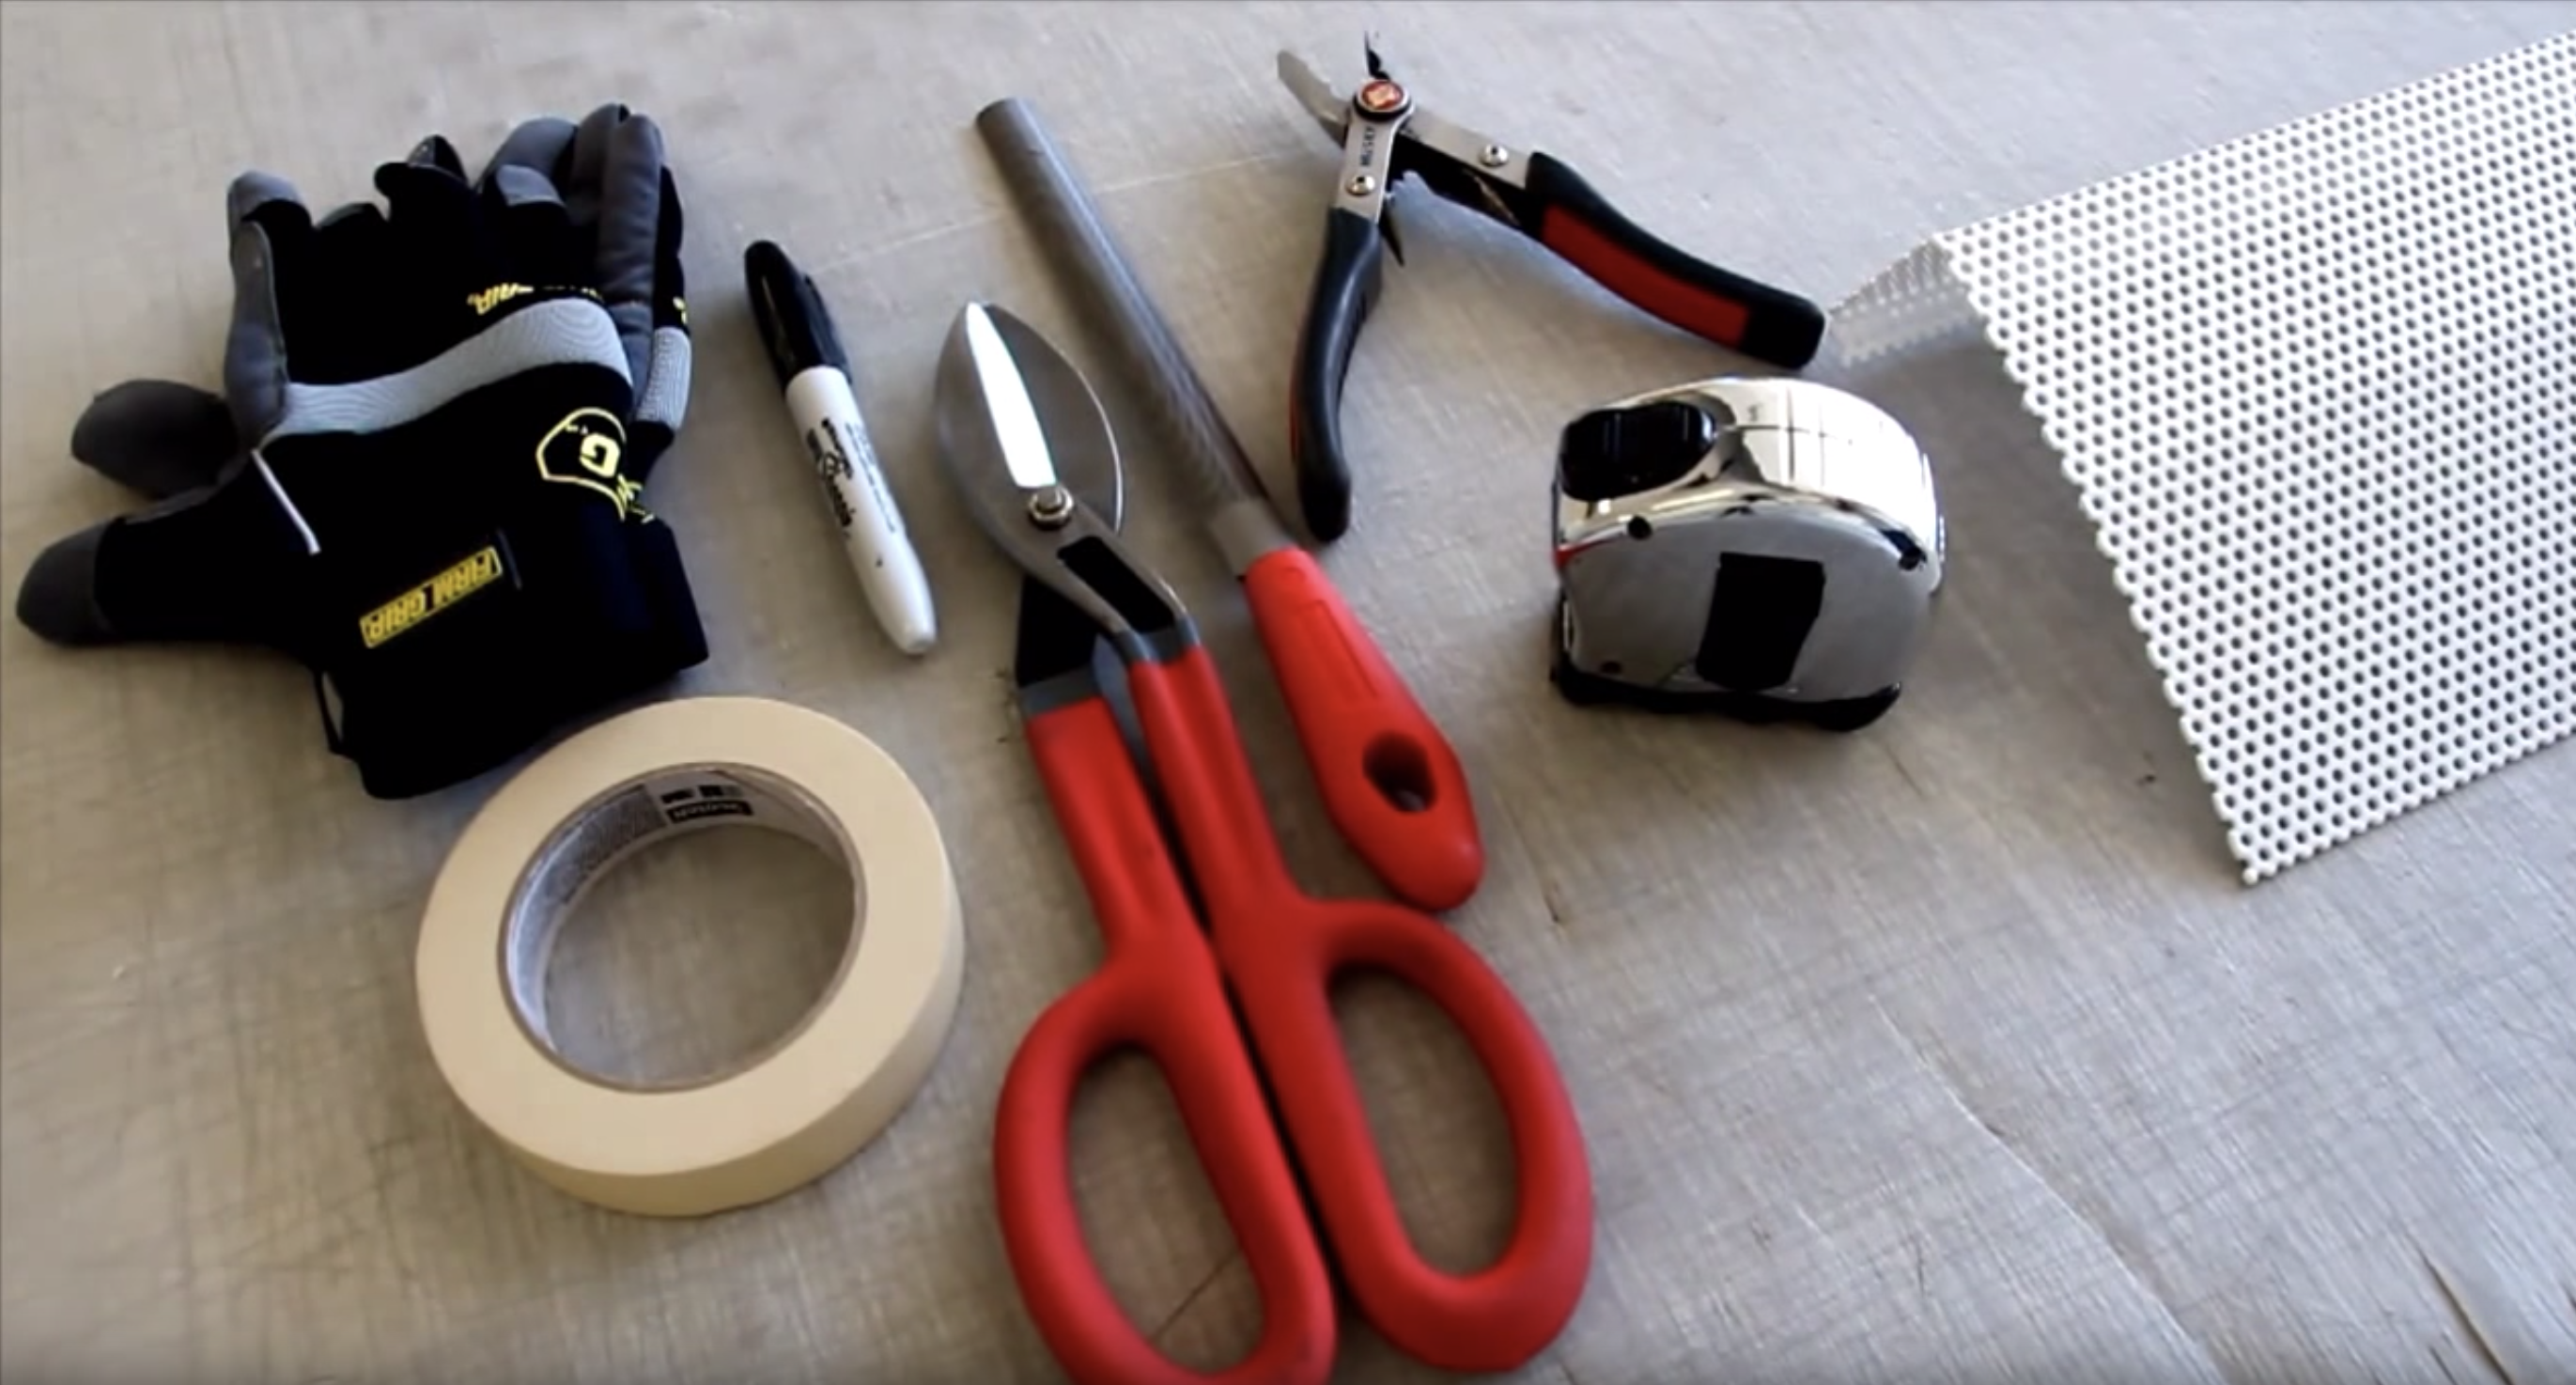
- Felt-tip marker
- Masking Tape
- Work gloves
- Tin snips or sheet metal scissors
- Pliers
- Metal File or Sanding block (medium grit)
Step 1:
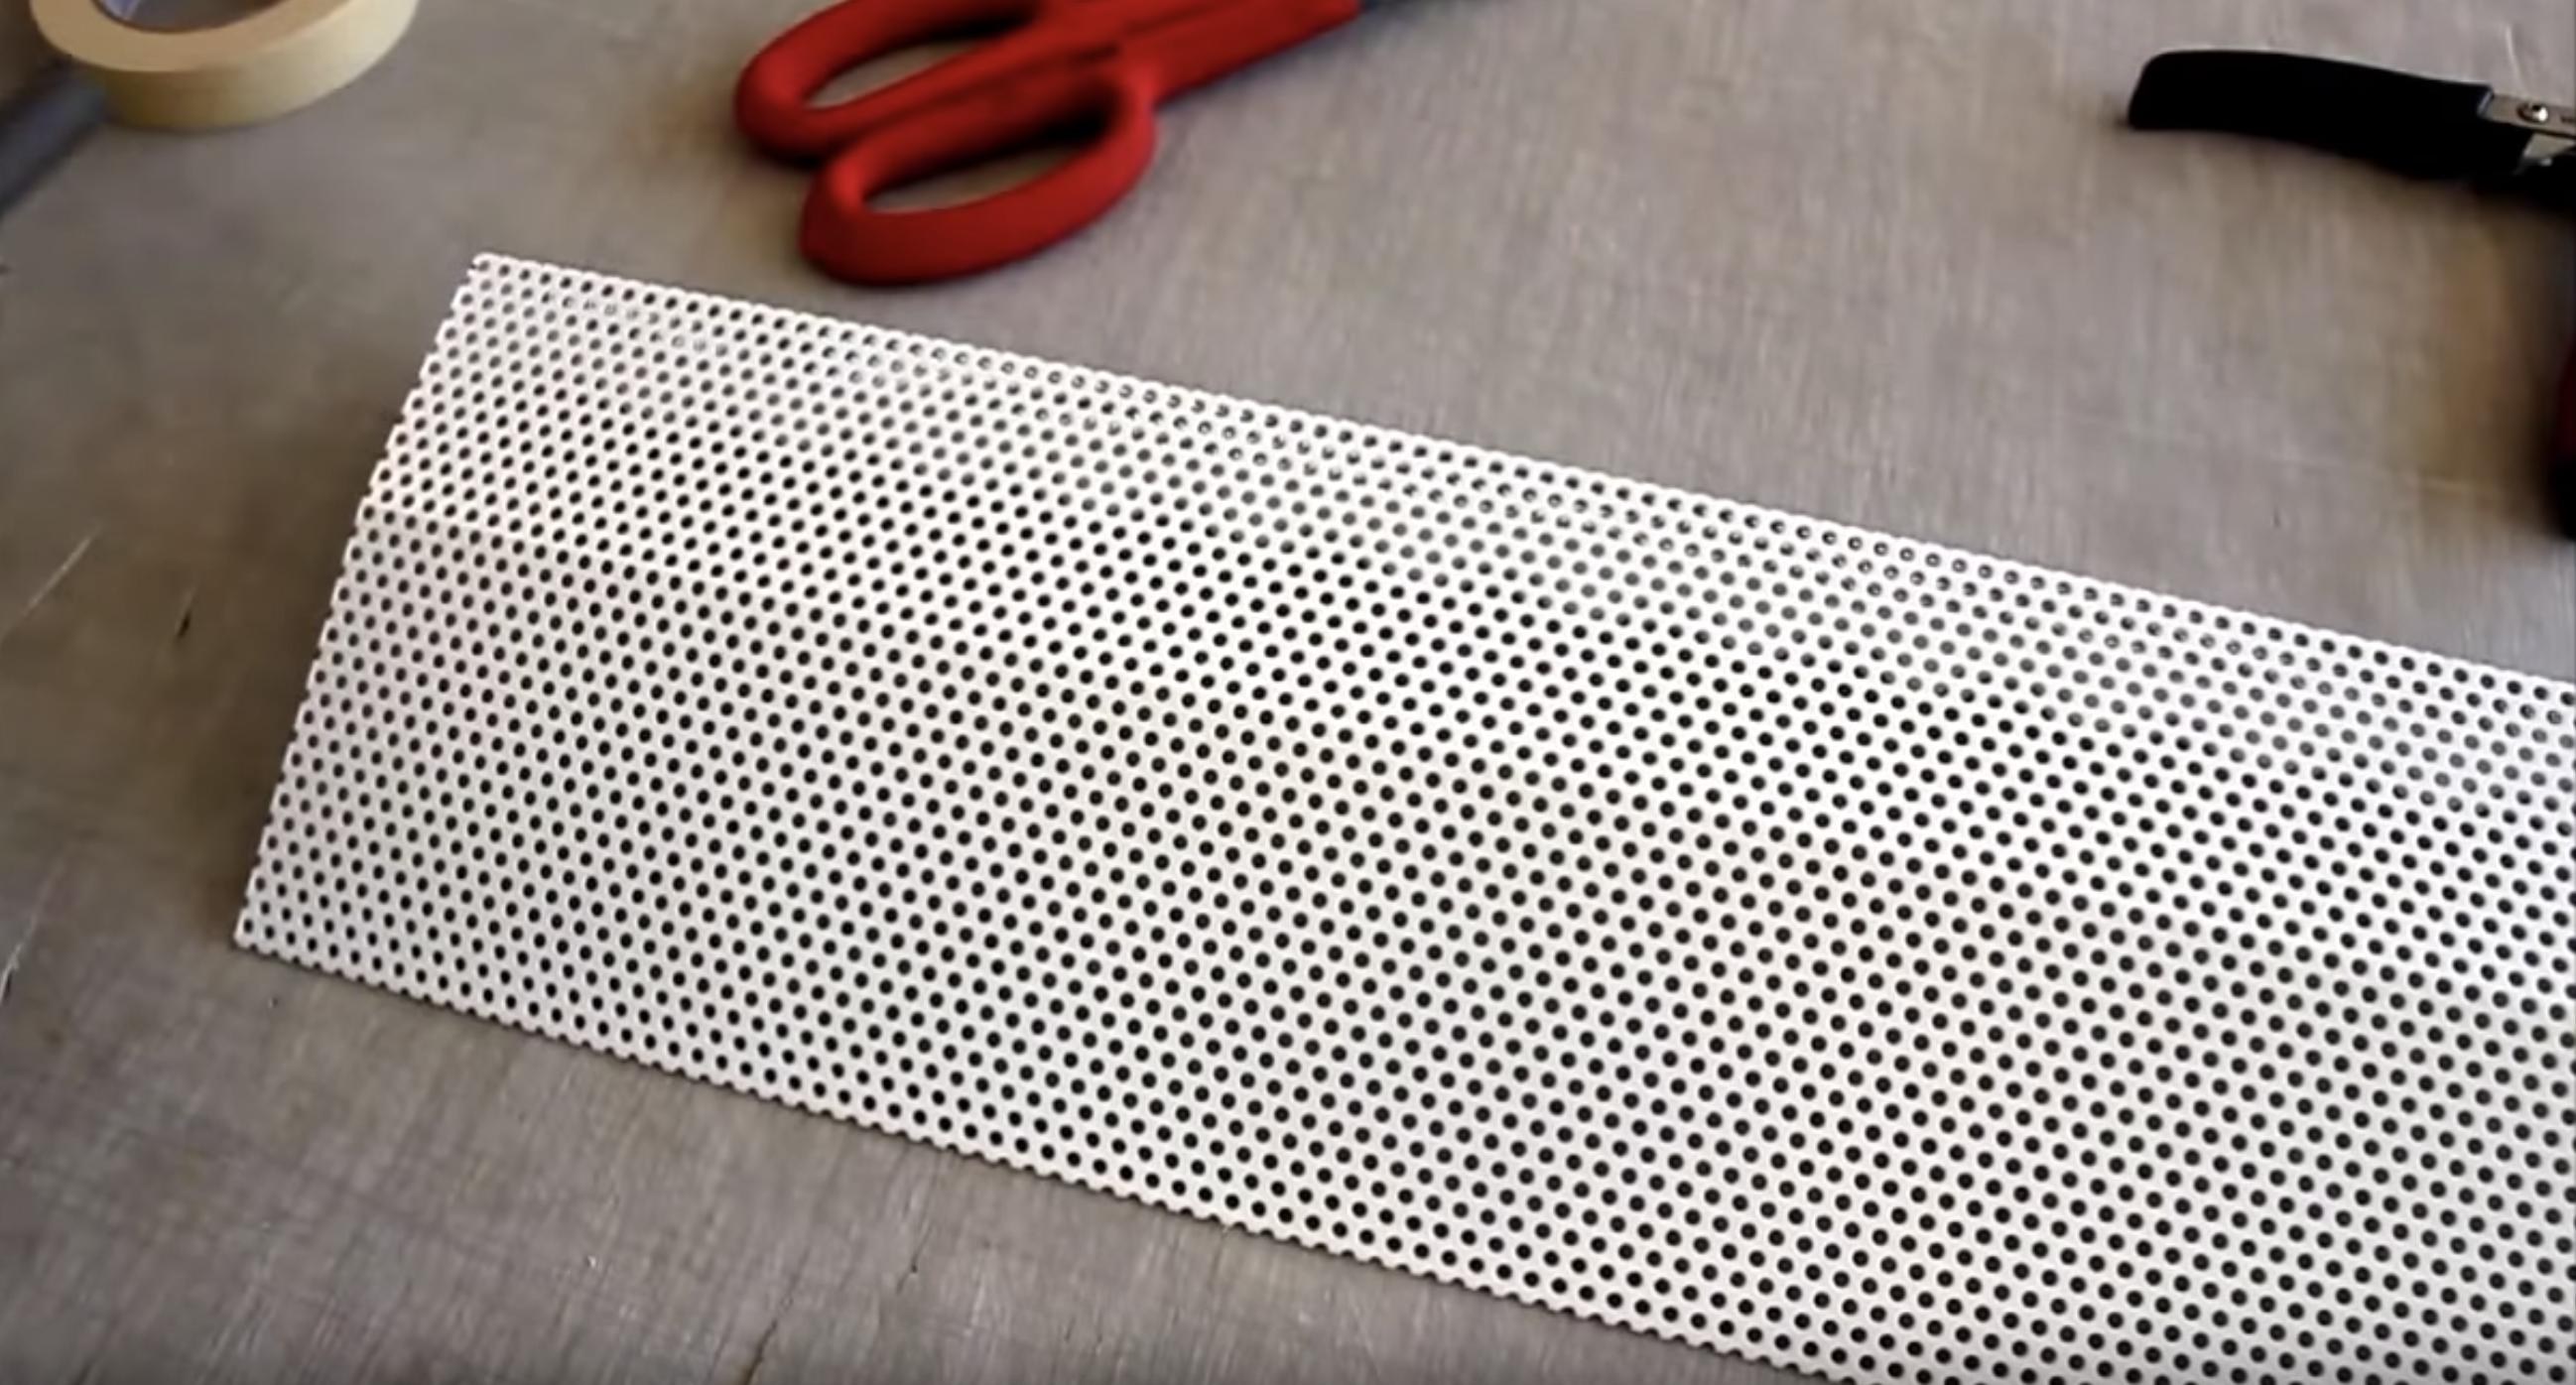
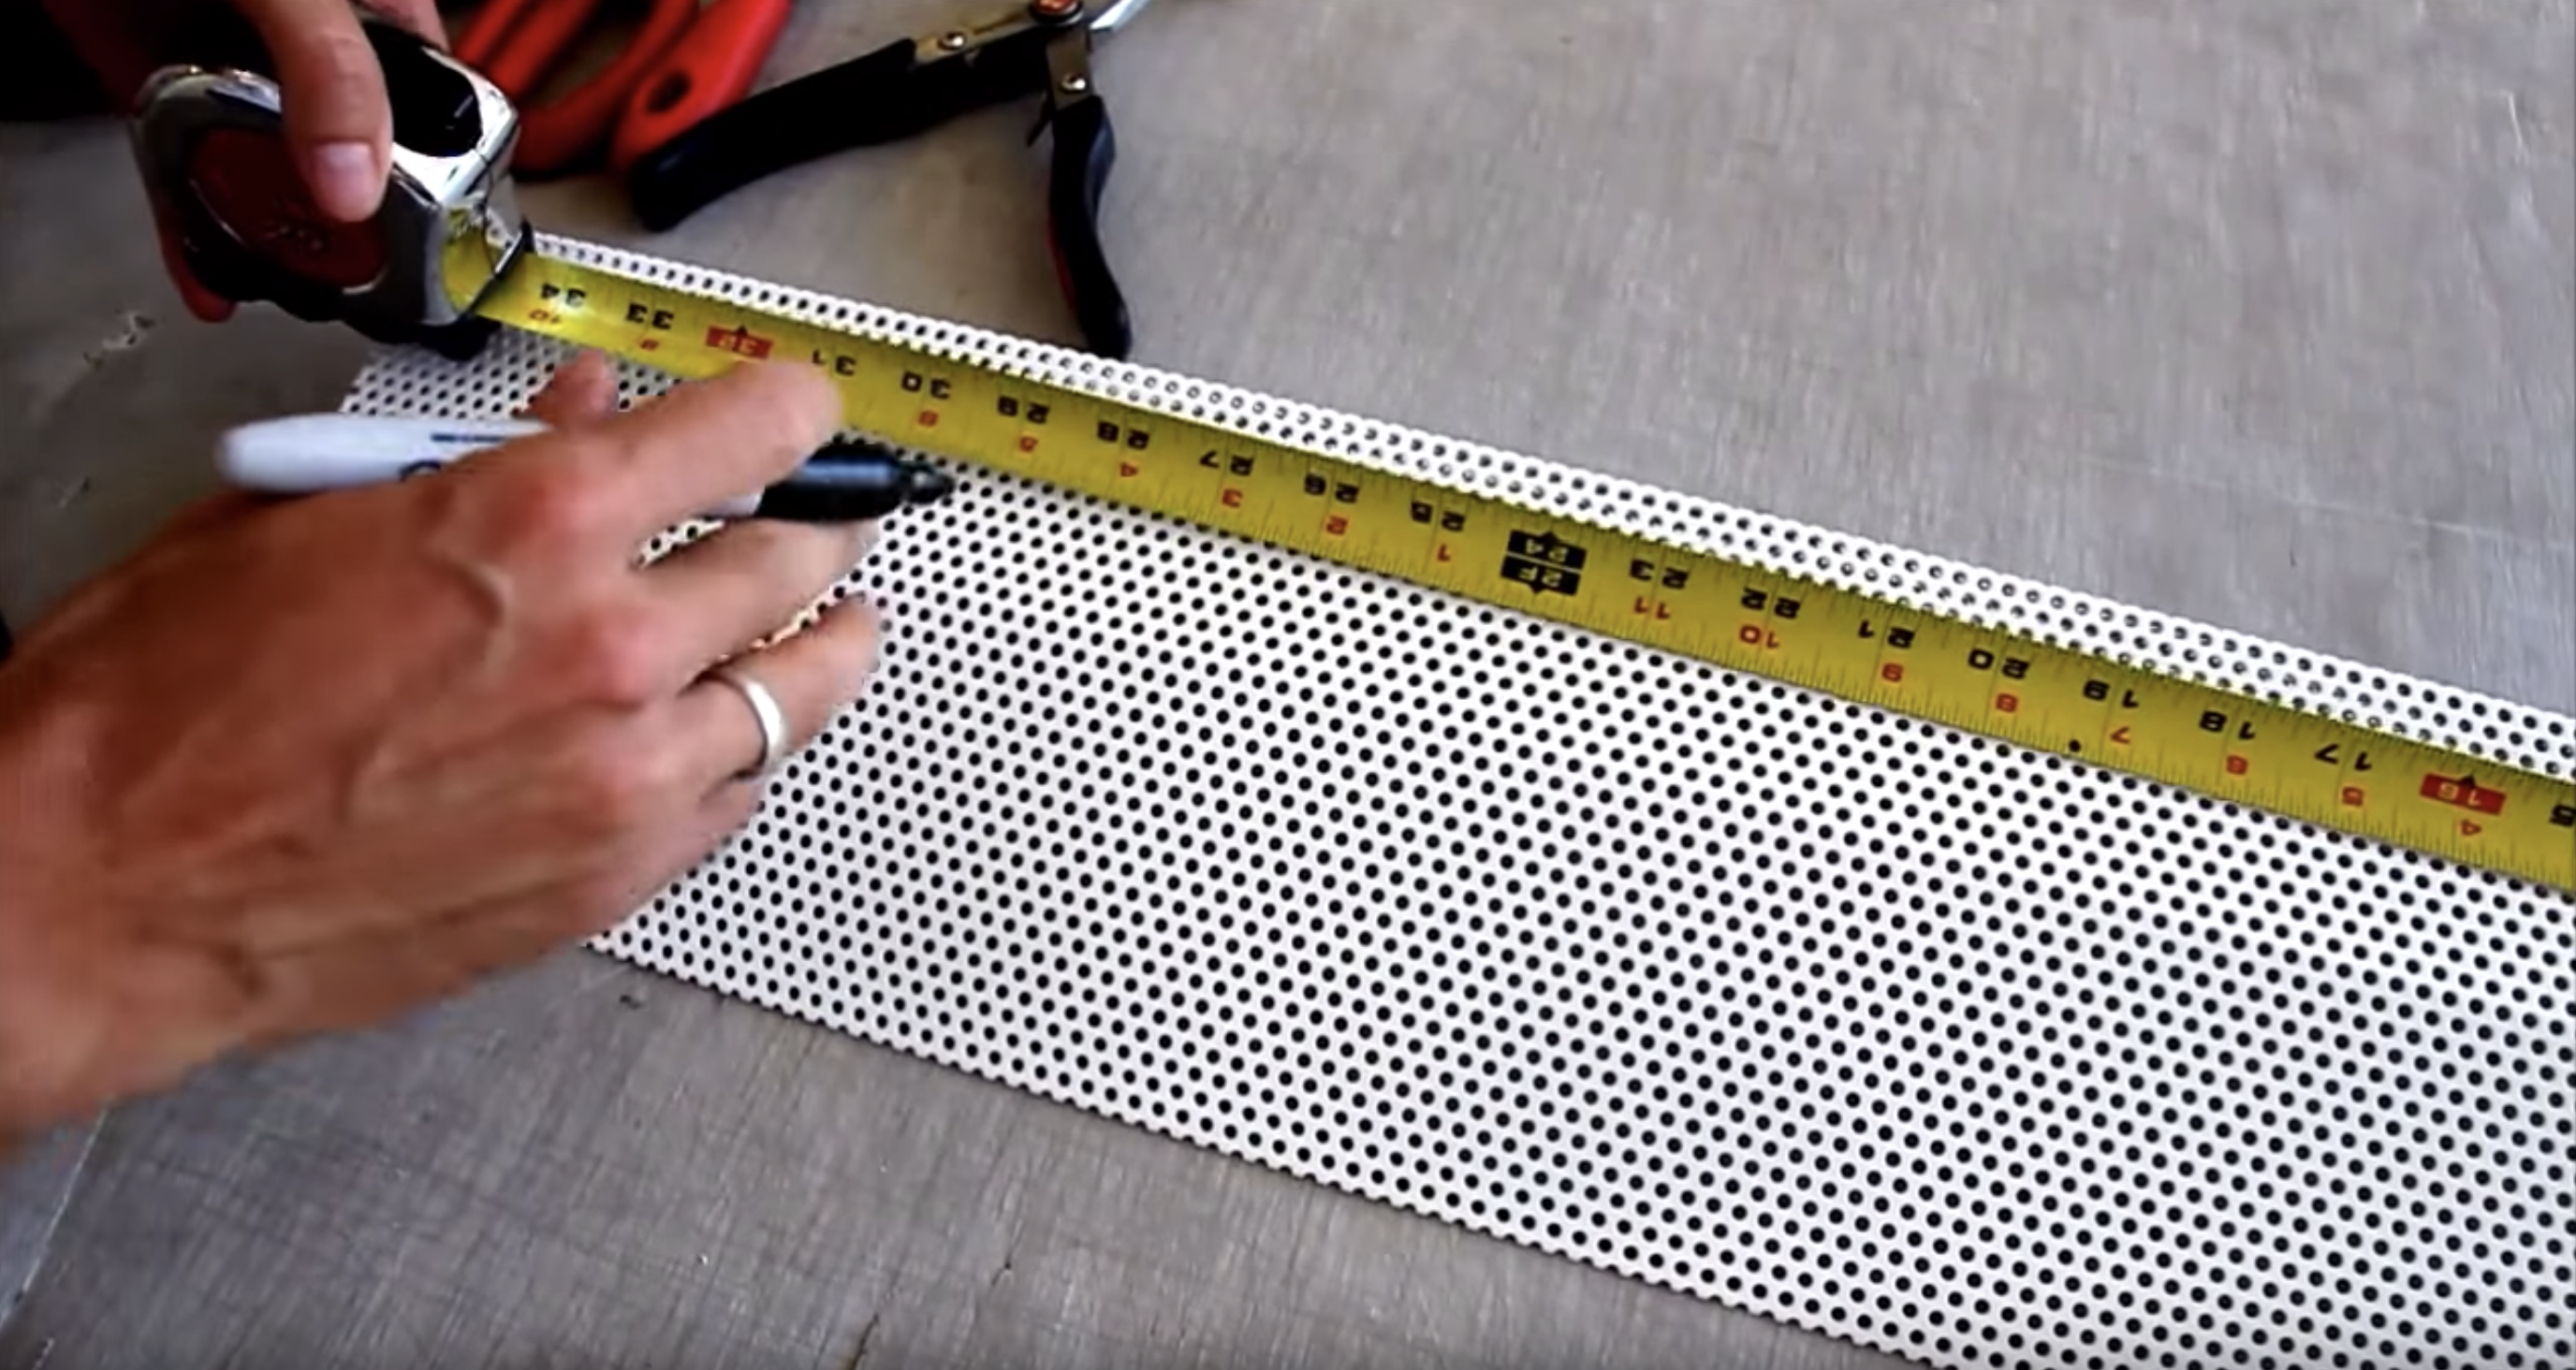
Using the old cover's measurements as a guide, mark the new cover at the correct length with a felt-tip marker.
Step 2:
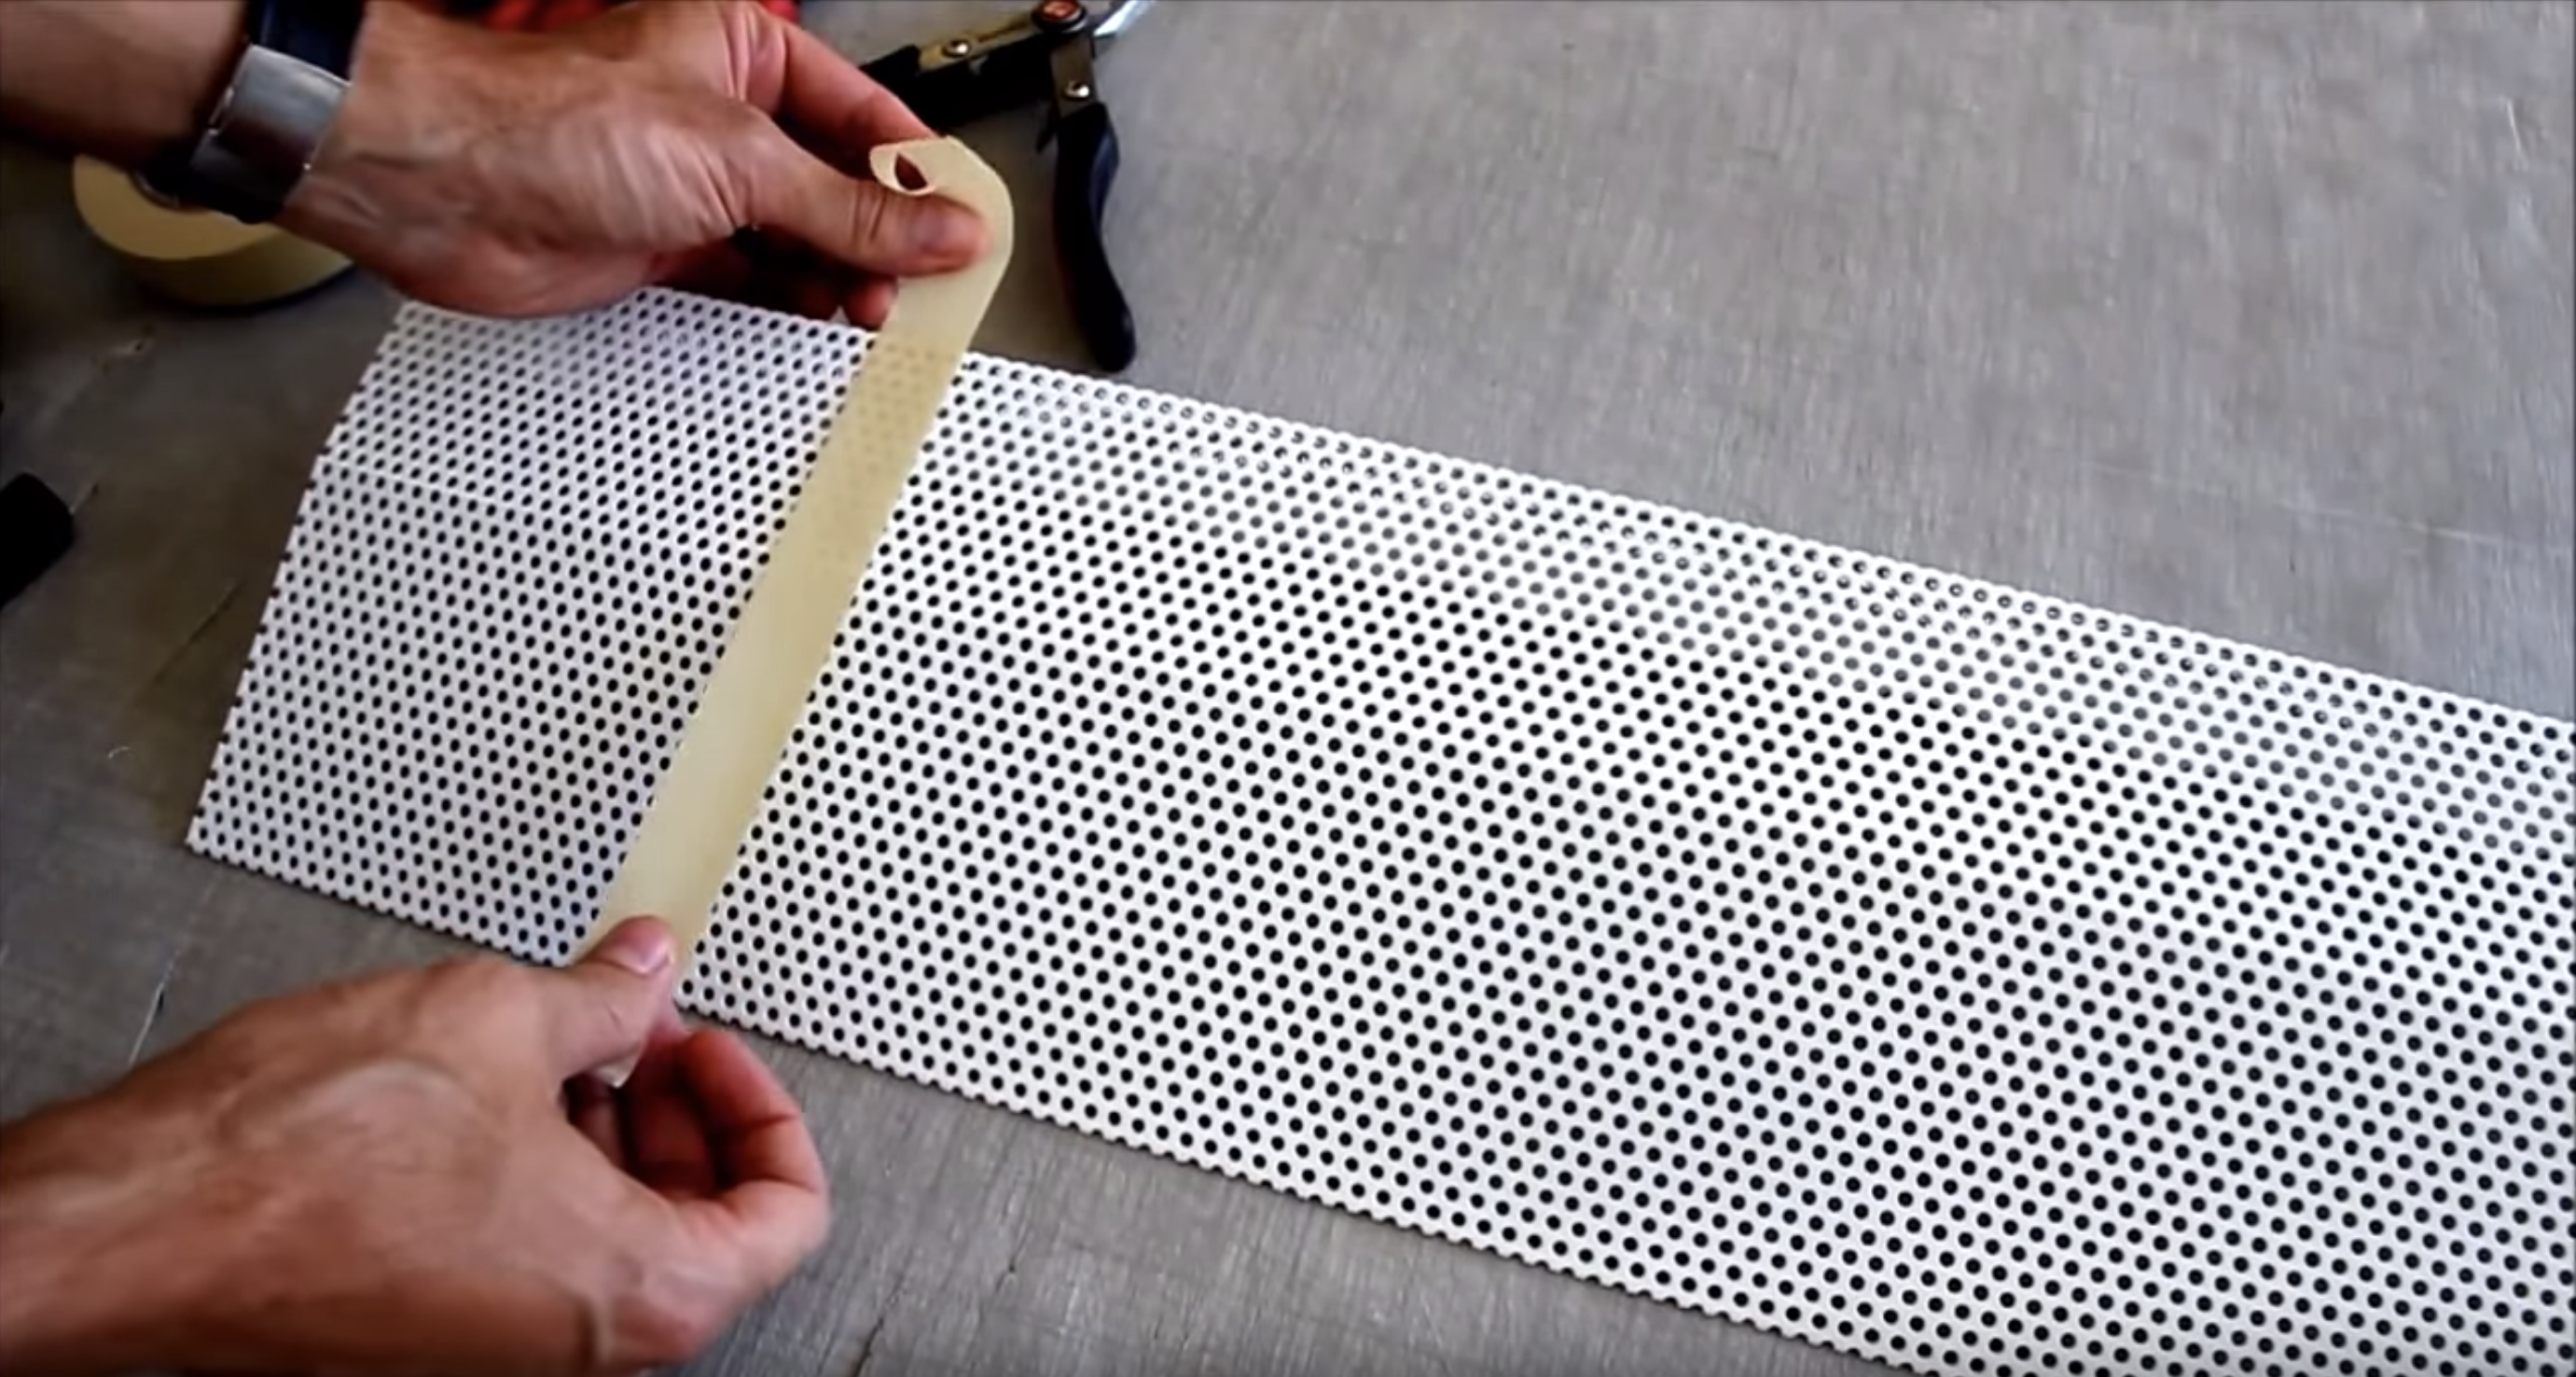
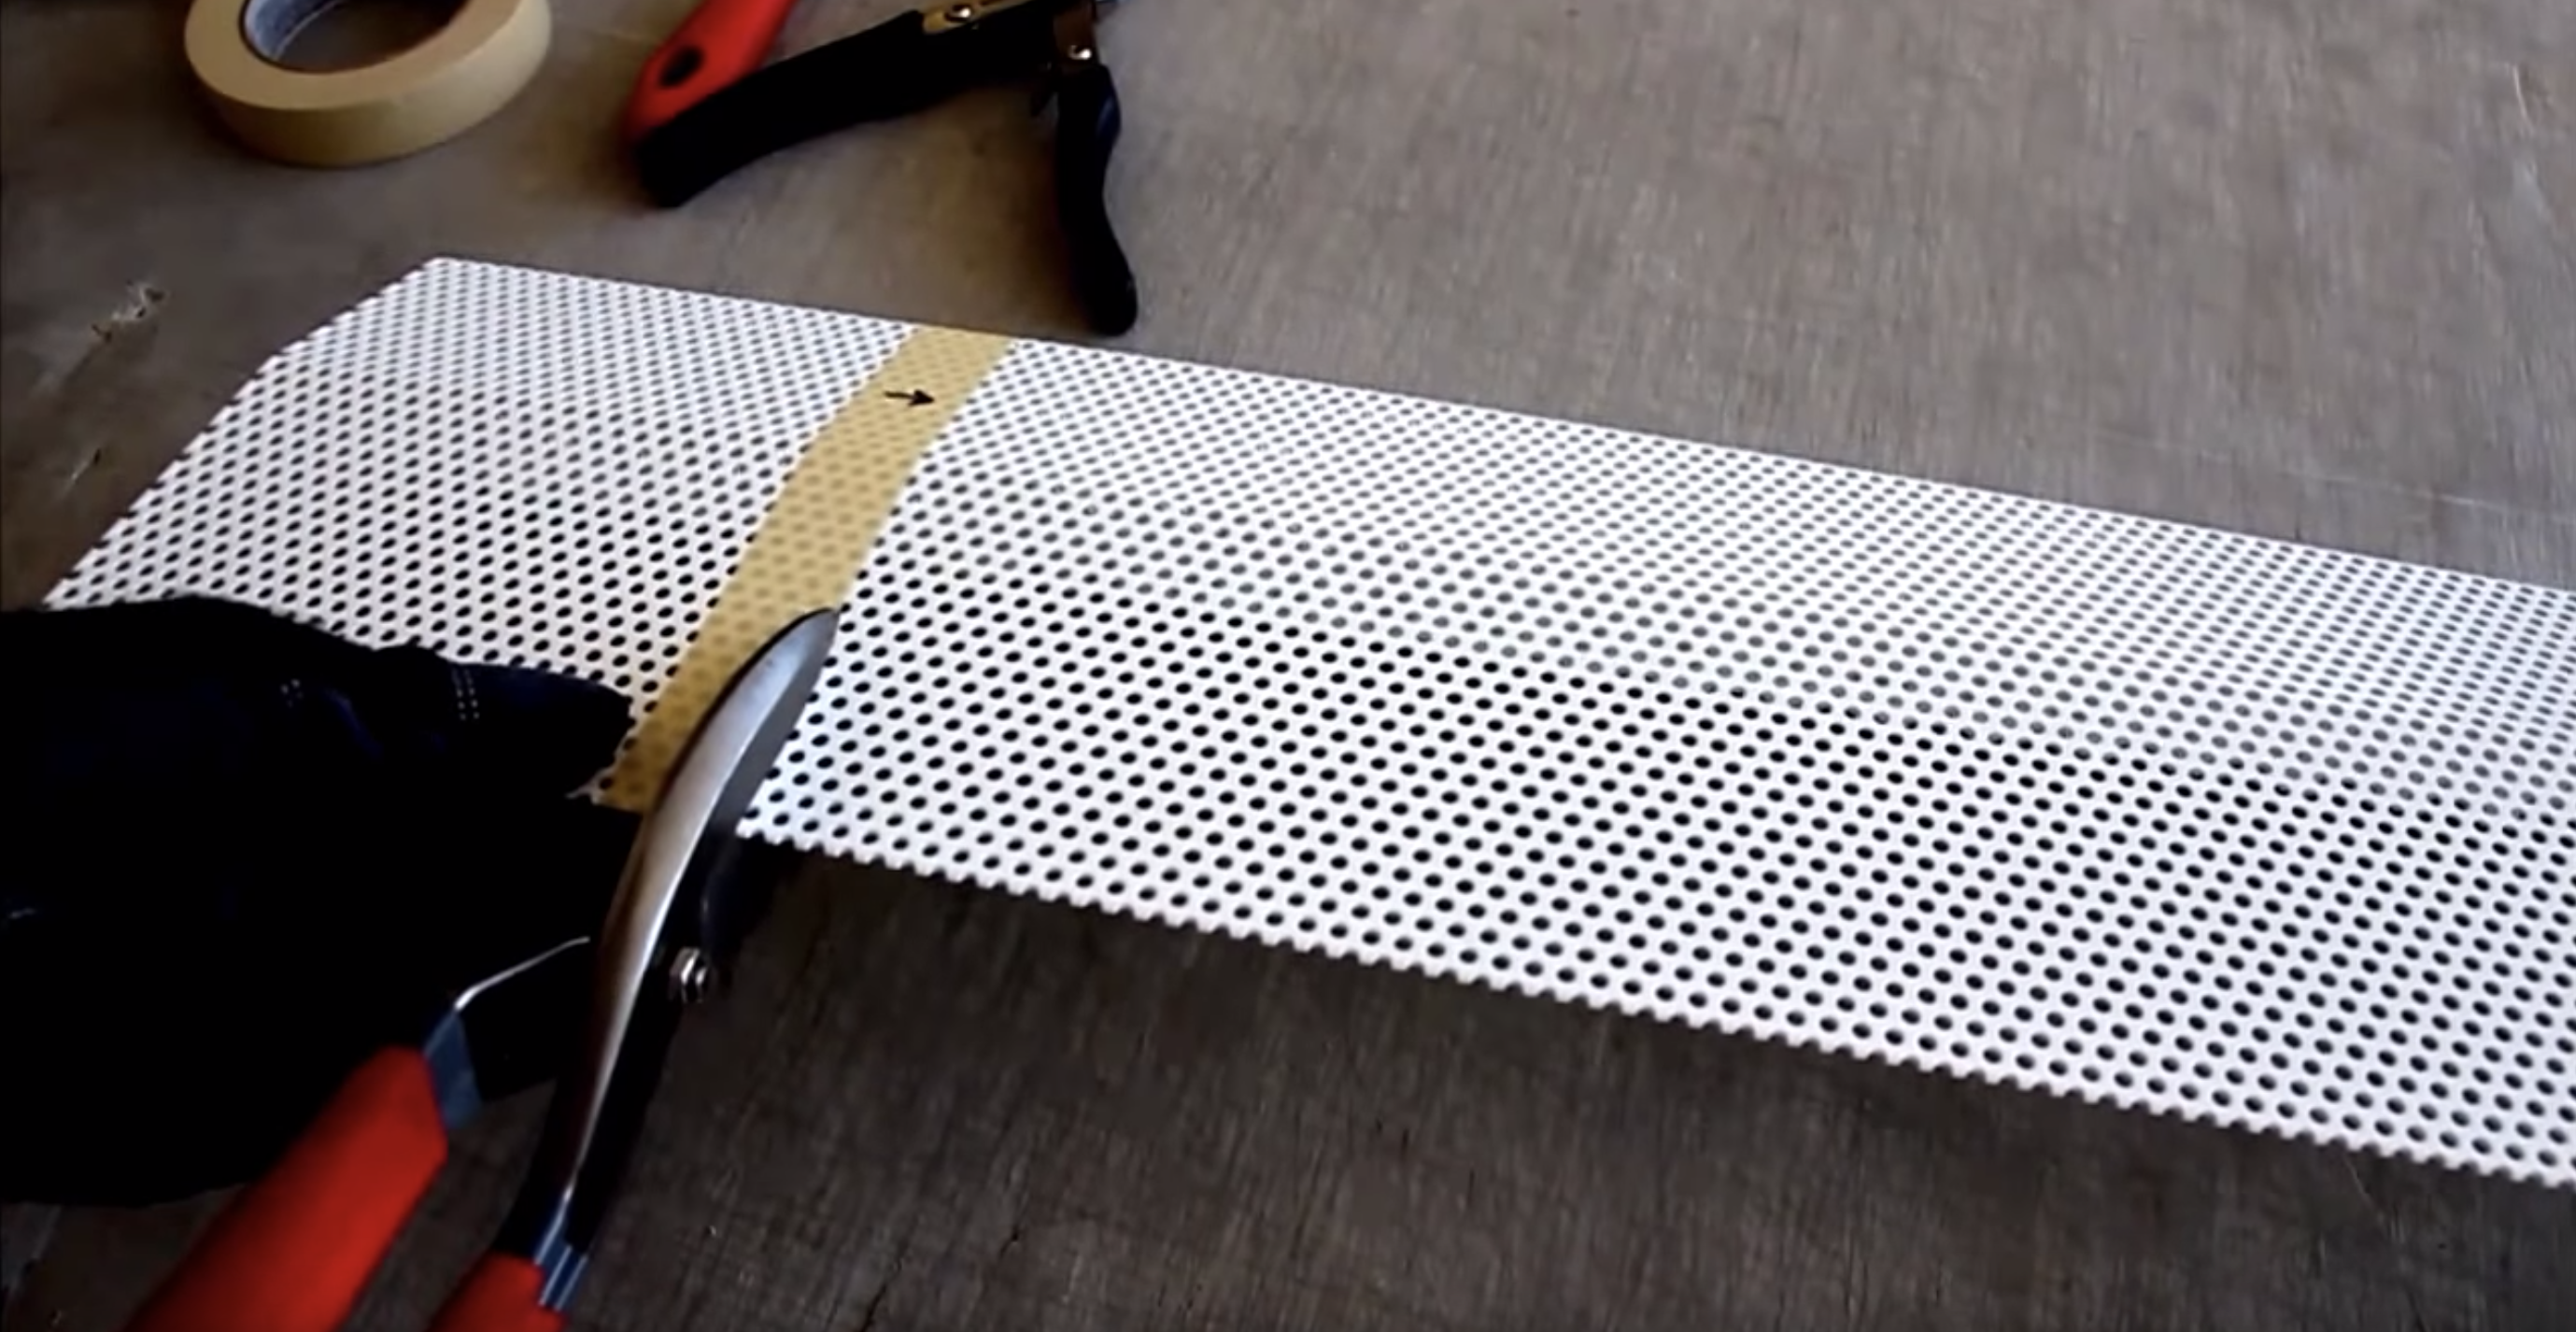
Square the mark across the face of the new cover with a strip of masking tape.
Pro tip: line up the masking tape with the center of the holes to ensure it is straight.
Step 3:
Put on work gloves.
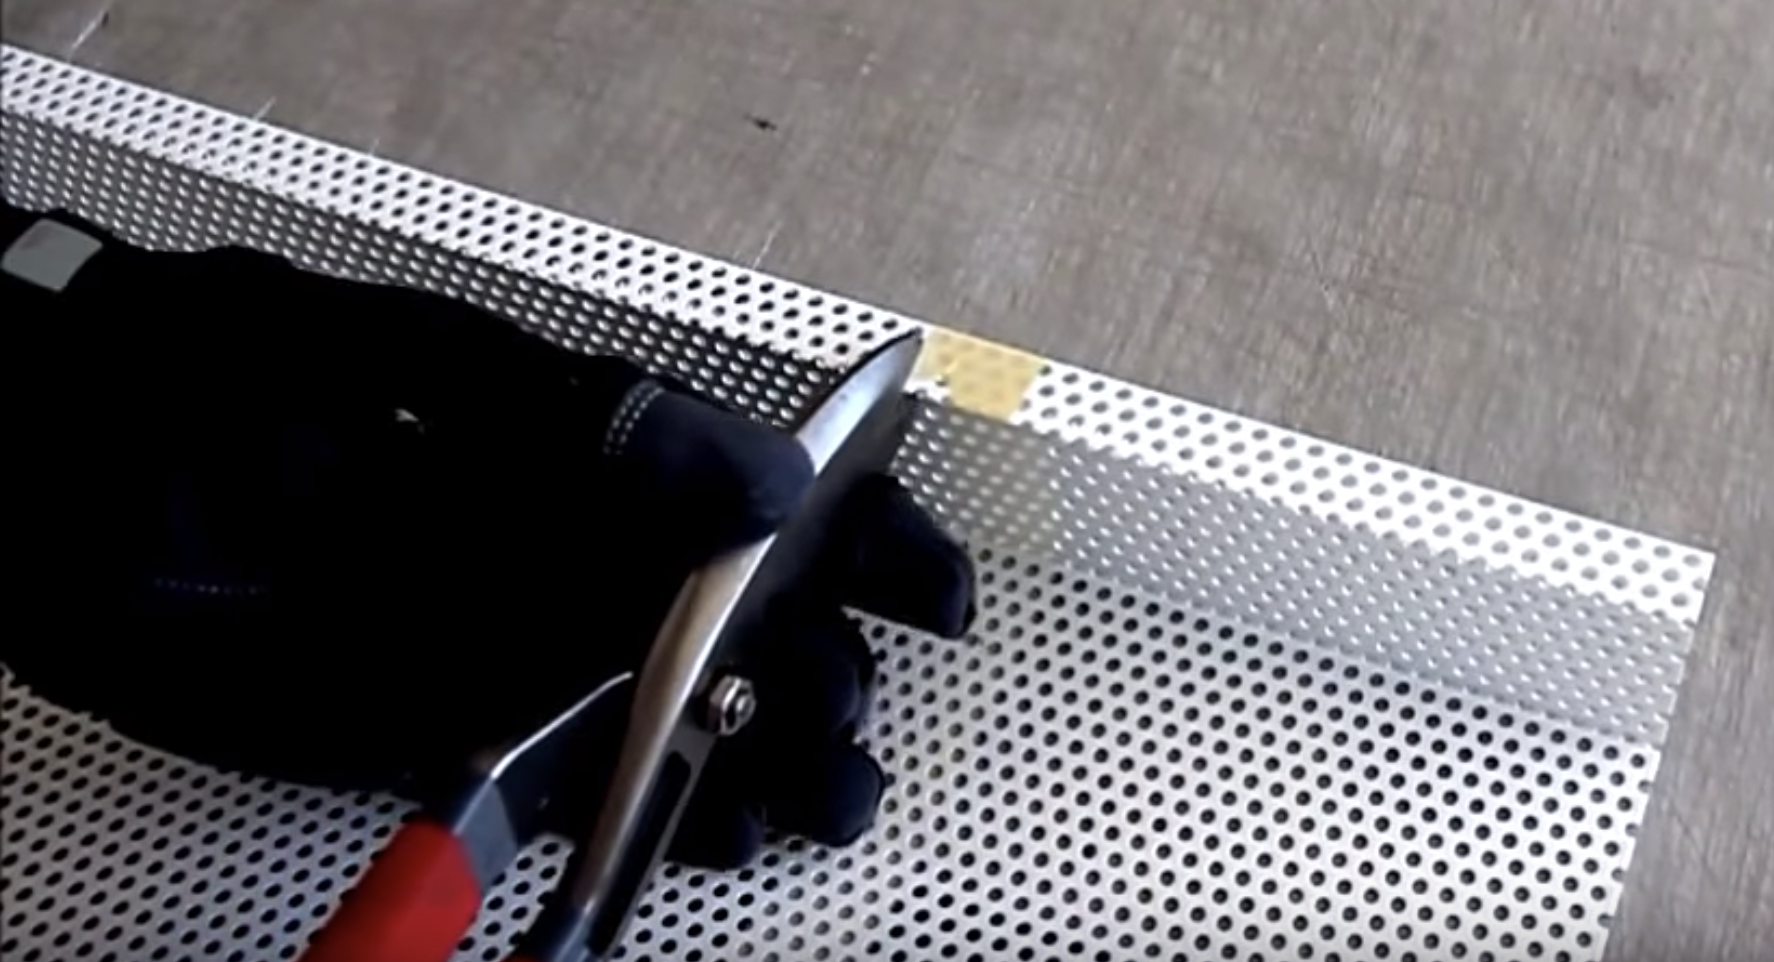
Starting on the lip on the back side of the cover, cut the cover at the masking tape line with tin snips or sheet metal scissors.
Pro tip: don't worry if the lip gets slightly bent trying to cut this--we'll show you how to fix this later
Step 4:
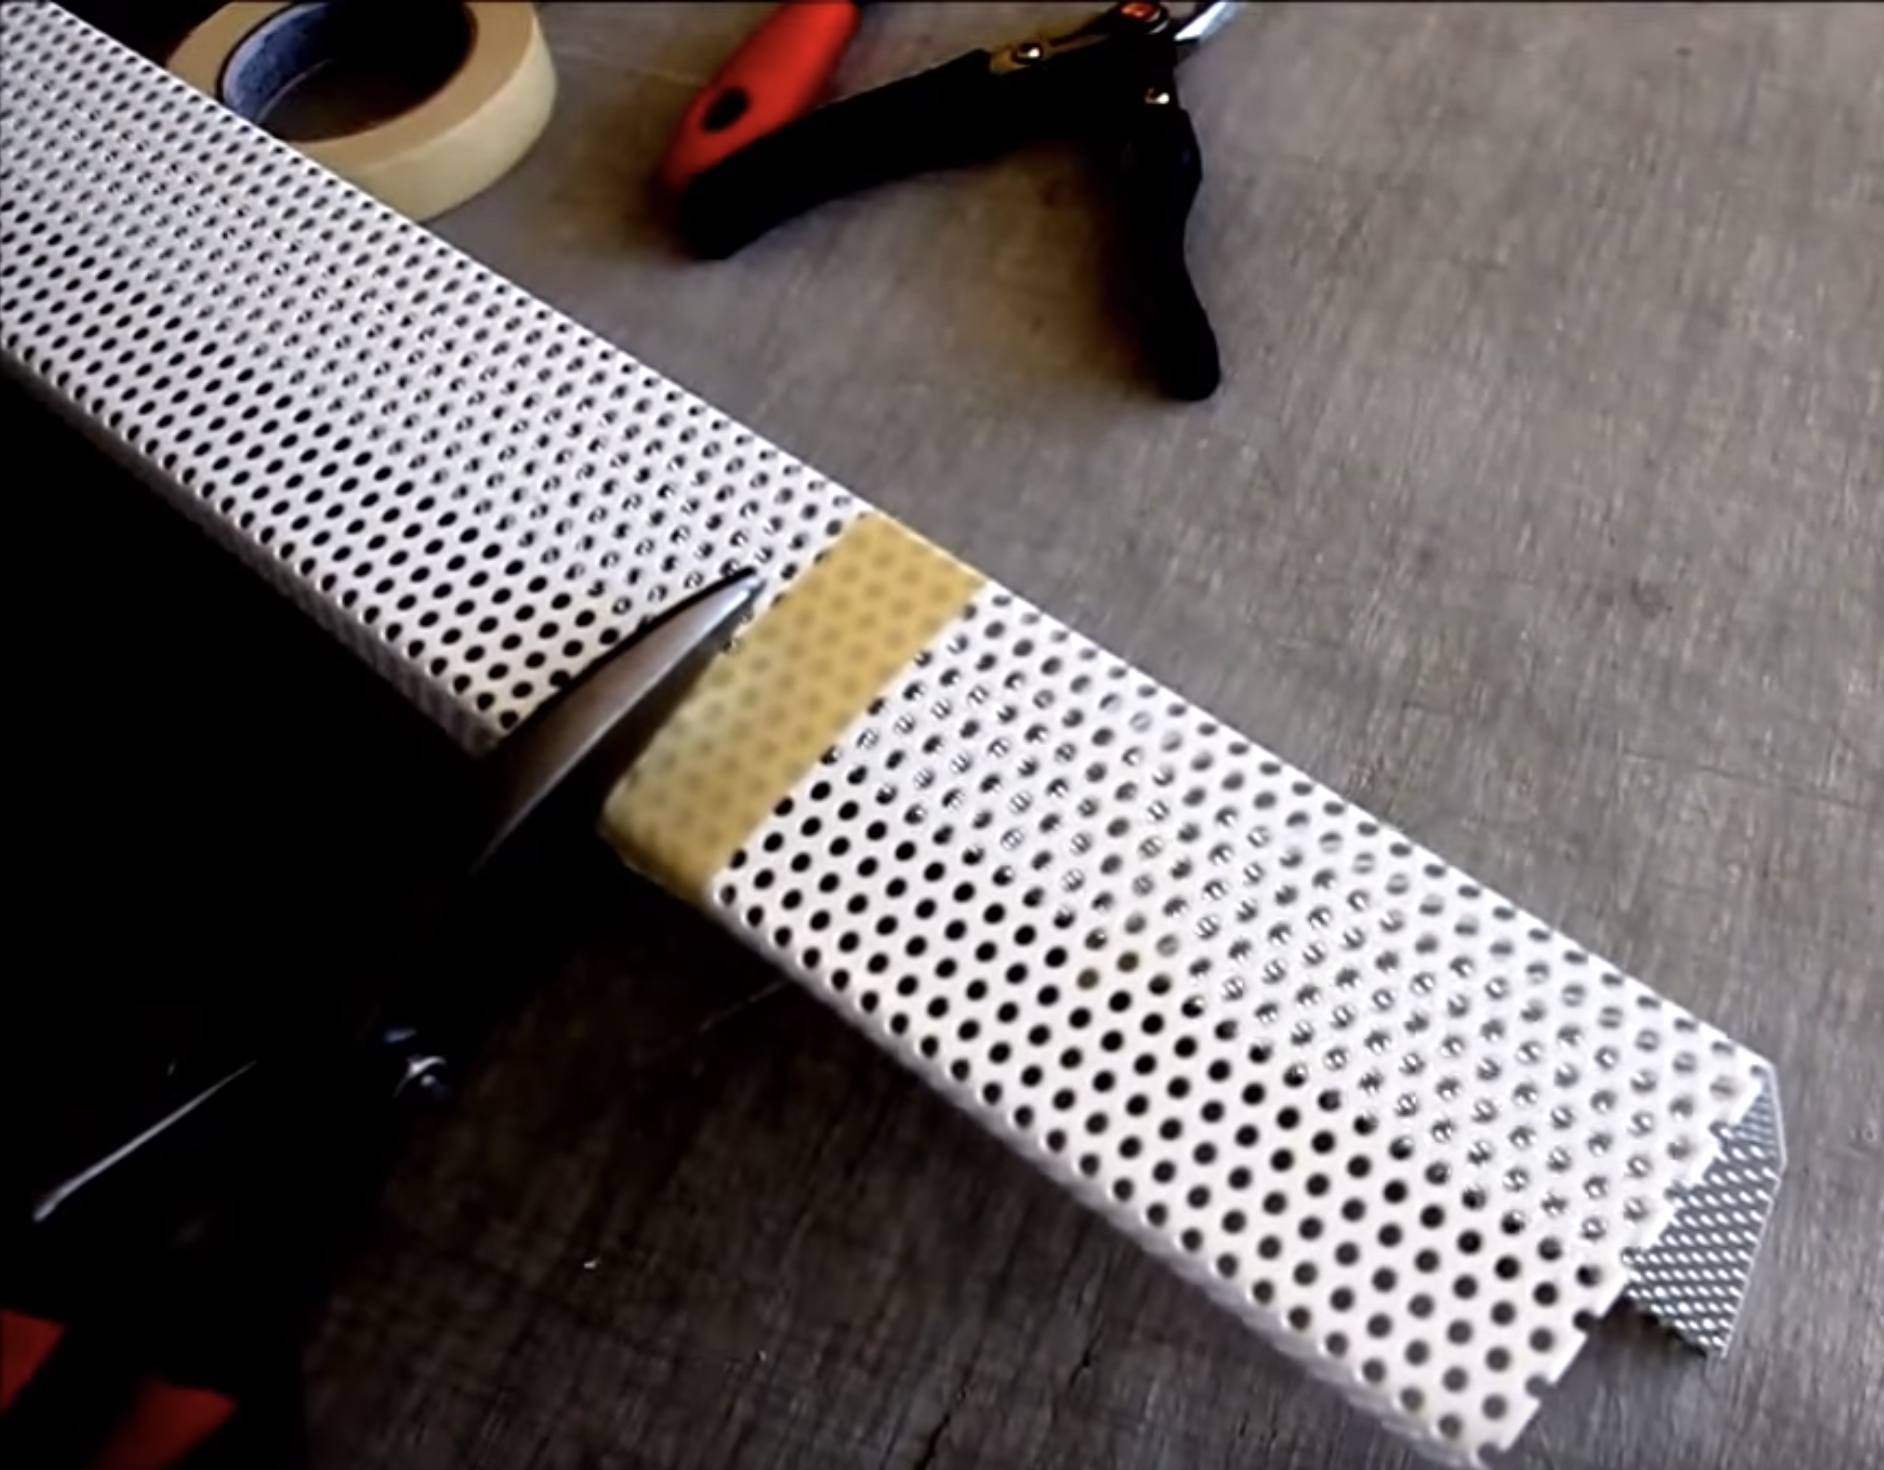
Next flip the panel over and starting from the bottom seam* cut the rest of the panel.
*note: the seam is twice as thick so it can be a bit trickier to cut but keep going--you got this!
Step 5:
Using the pliers, straighten out and bends in the metal--don't worry if this isn't perfect as it will be covered by the endcap.
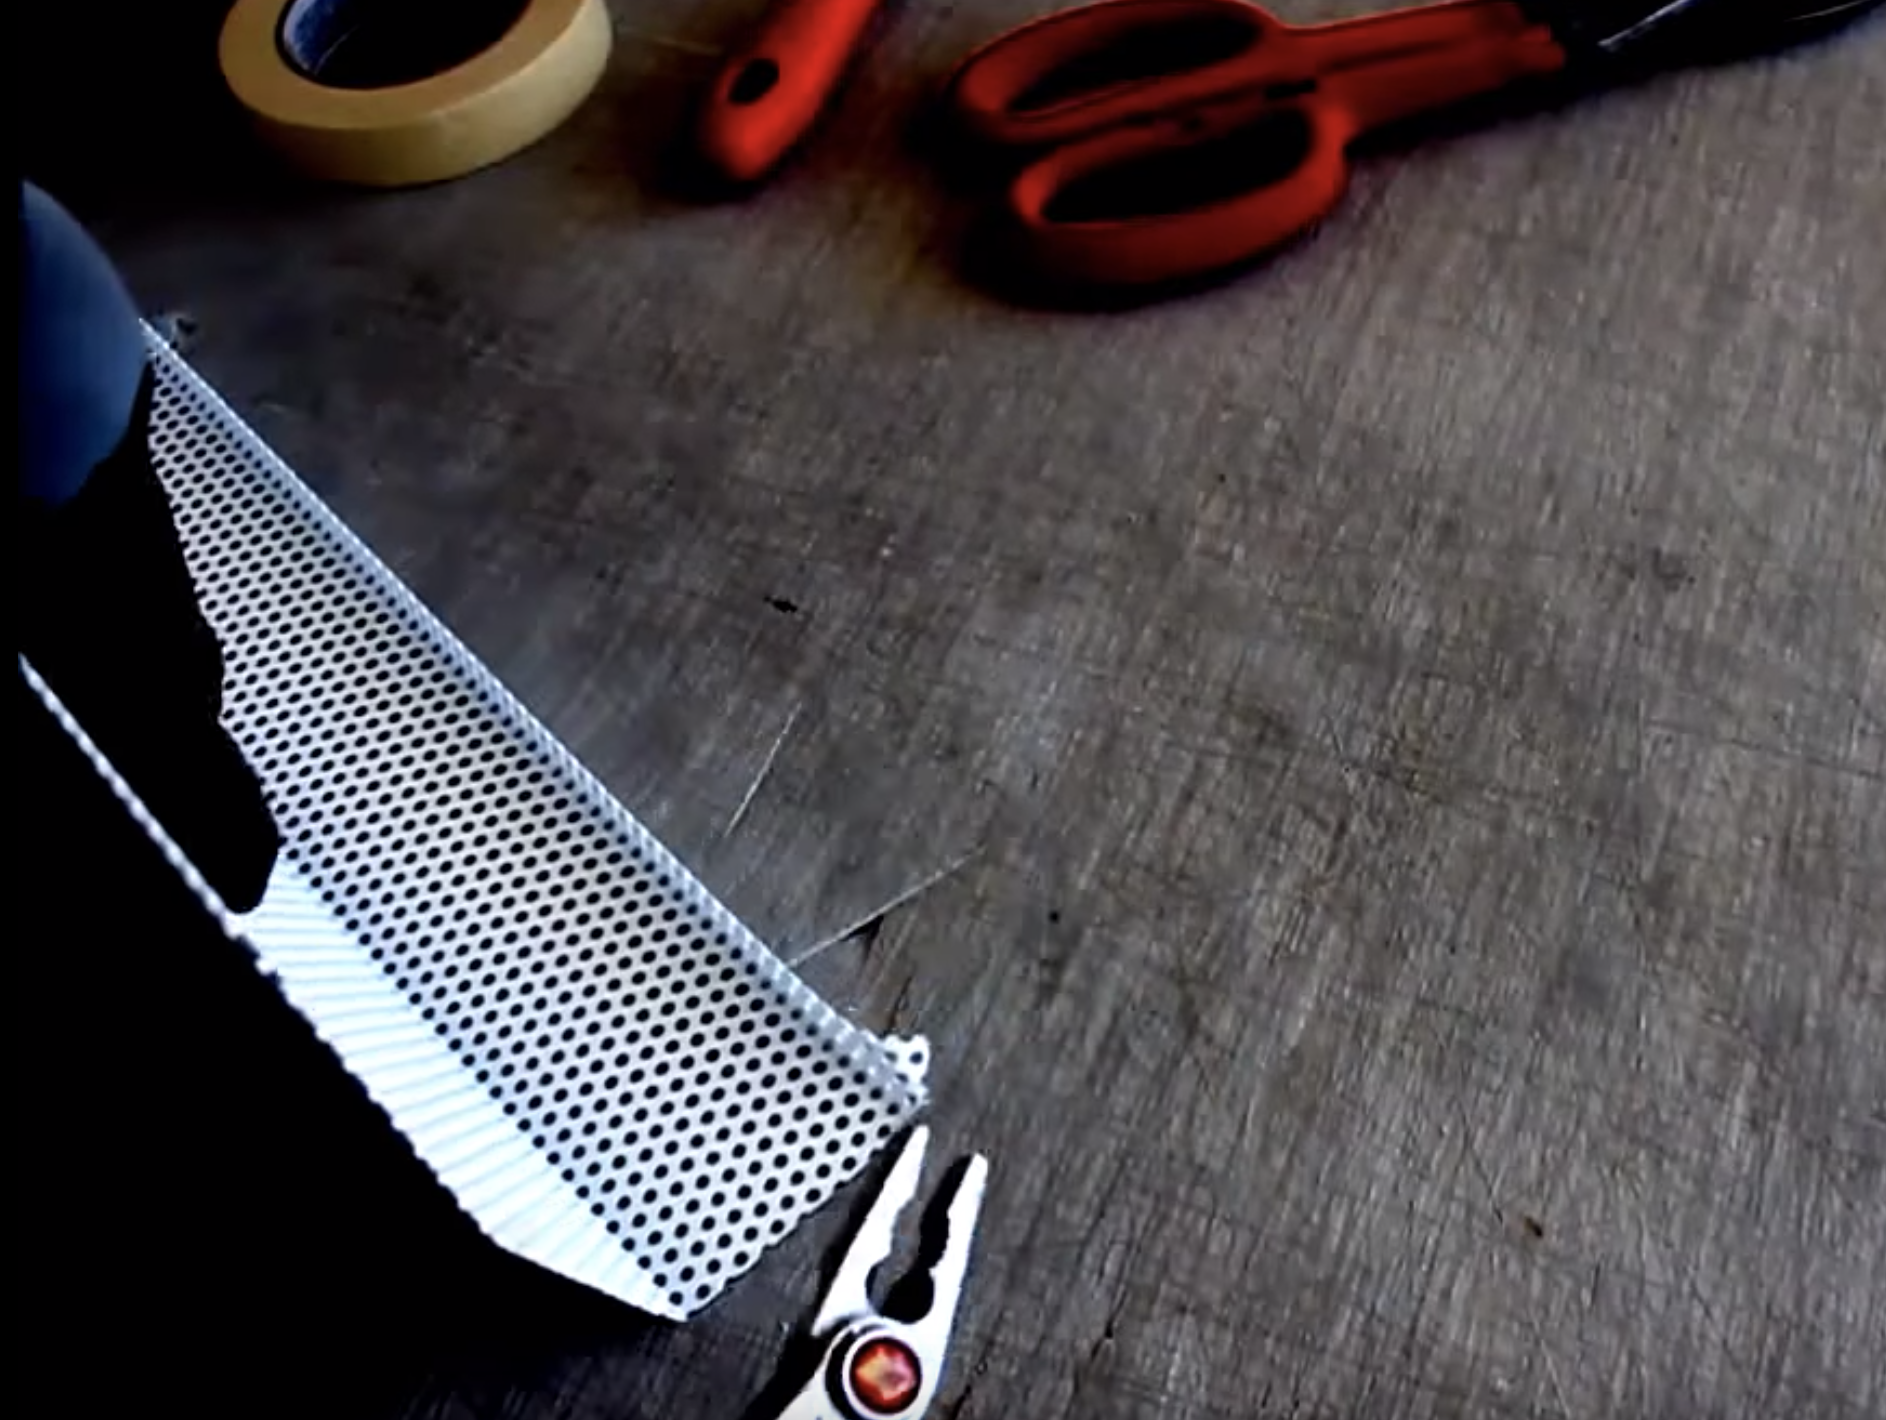
Step 6:
Remove any burrs at the cut-end of the new cover with a metal file or sanding block.
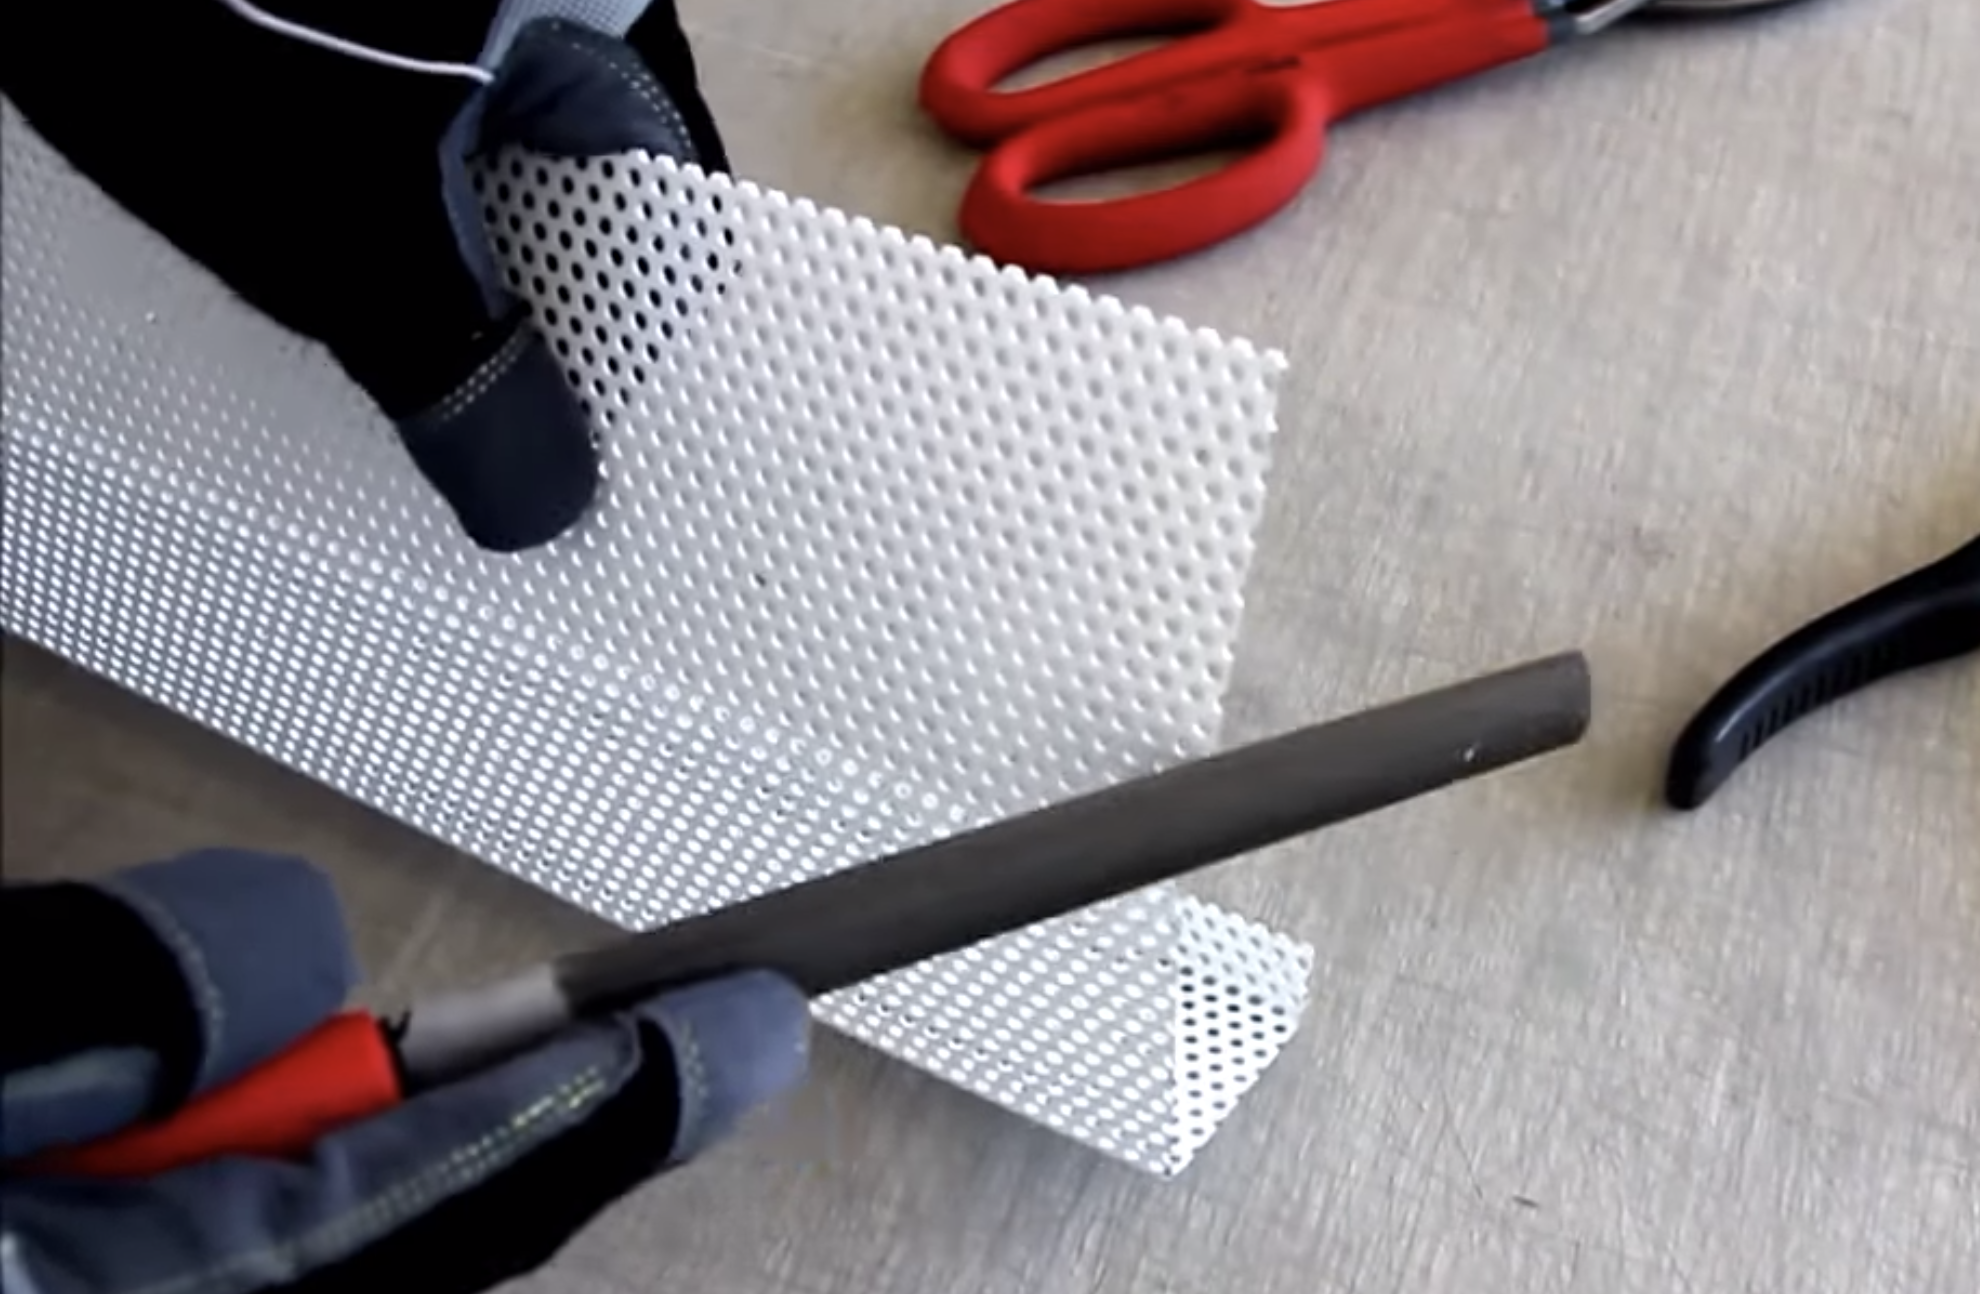
That's it! You're ready to install your new custom cut cover.
